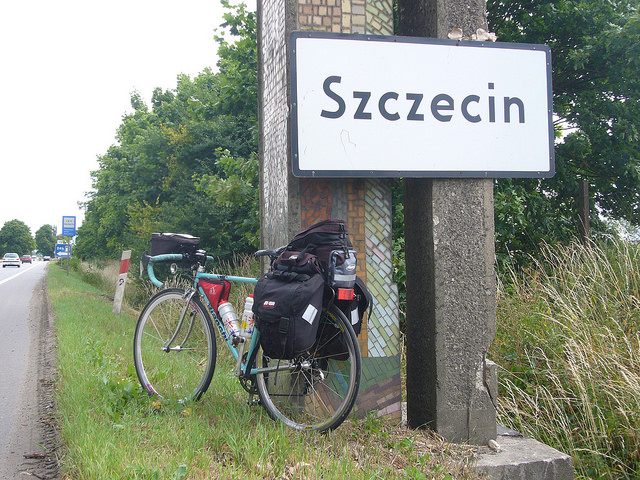
1 - Vista d'insieme
dell'attacco, dall'alto.
Top view of the whole mounting.

2 - Vista da dietro, guardando la bicicletta dal retro.
Rear view.

3 - Vista dalla parte anteriore.
Front view.

4 - Particolari del bullone e del distanziatore centrale.
View of the bolt and center nut.

5 - La piastrina che si appoggia al perno del freno
The plate that leans on the brake support

6 - Il bullone e la piastrina dal lato posteriore
Bolt and rear plate

7 - Tutti i pezzi nell'ordine in cui sono montati
All pieces in mounting order

8 - Tutti i pezzi, la piastra di fissaggio vista di profilo

9 - Il lato posteriore del portapacchi. Solo il foro centrale
è utilizzato
Rear view of the rear rack, only center hole is used

10 - Il portapacchi senza attacco
The rear rack

11 - L'attacco aperto
The mounting parts open

12 - L'attacco chiuso
The mounting parts closed

13 - Montaggio sul telaio. La piastrina verticale appoggia
leggermente sul perno del freno
Mounting on the frame. The vertical plate slightly leans on the brake
support

14 - Vista laterale
Side view

15 - Vista posteriore
Rear view

16 - Vista da sopra
Top view

17 - Il braccio prima del montaggio al mozzo
The rack arm before mounting to the wheel axis

18 - Per montare il braccio sul sul forcellino bisogna sfilare il perno
del bloccaggio ruota,
allineare i bracci del portapacchi ai fori dei forcellini e infilare
di nuovo il perno facendolo uscire dall'altra parte
To mount the rack arm you must remove the wheel skewer, align the arm
to the dropout hole and then insert again the skewer

19 - Ultima operazione: riavvitare il fermo del bloccaggio ruota
Last operation: screw the skewer lock